I needed to connect to Oxford University via a VPN connection from my Ubuntu 13.10 laptop. They have some instructions by they are quite complicated and not very clear. Here is how I did it:
1 – Install a Cisco compatiable VPN Client
Oxford University uses the Cisco VPN. You can install this directly from the repositories.
sudo apt-get install network-manager-vpnc vpnc <code>network-manager-vpnc-gnome</code></pre>
<pre>
2 – Update the VPN service
sudo nano /etc/dbus-1/system.d/nm-vpnc-service.conf
Add a new policy before the </busconfig>
<policy at_console="true">
     <allow own="org.freedesktop.NetworkManager.vpnc"/>
     <allow send_destination="org.freedesktop.NetworkManager.vpnc"/>
</policy>
You can save and close nano by ctrl-o (for saving files) and ctrl-x (for exiting).
3 – Get the settings…
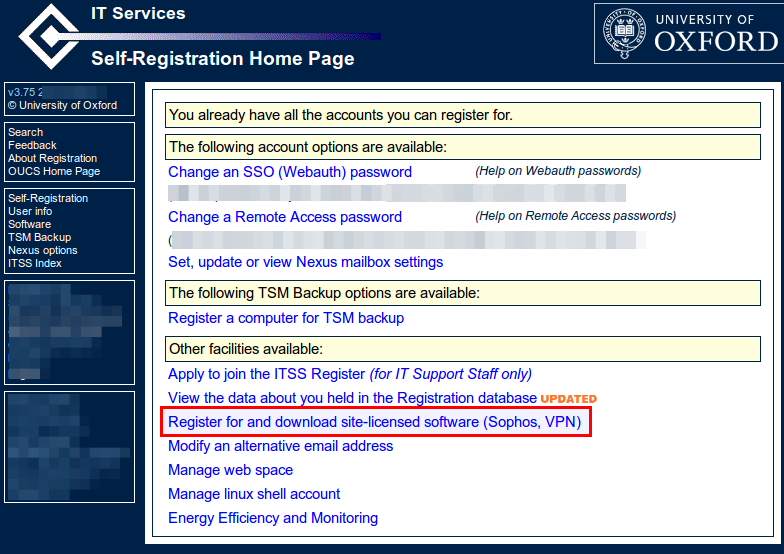
Go to https://register.it.ox.ac.uk/self/index and follow these steps to get the settings. Note: you will need to login using your account details (these will be the same as your emails etc).
Login then select “Register for and download site-licensed software (Sophos, VPN)”
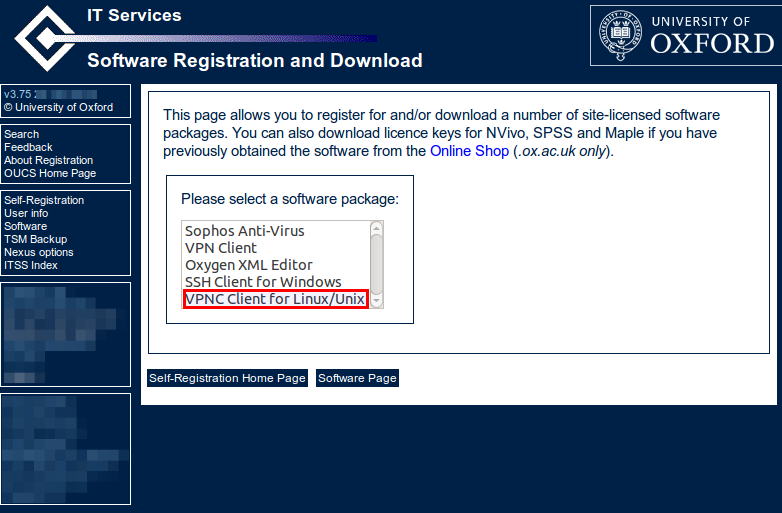
Select “VPNC Client for Linux/Unix”
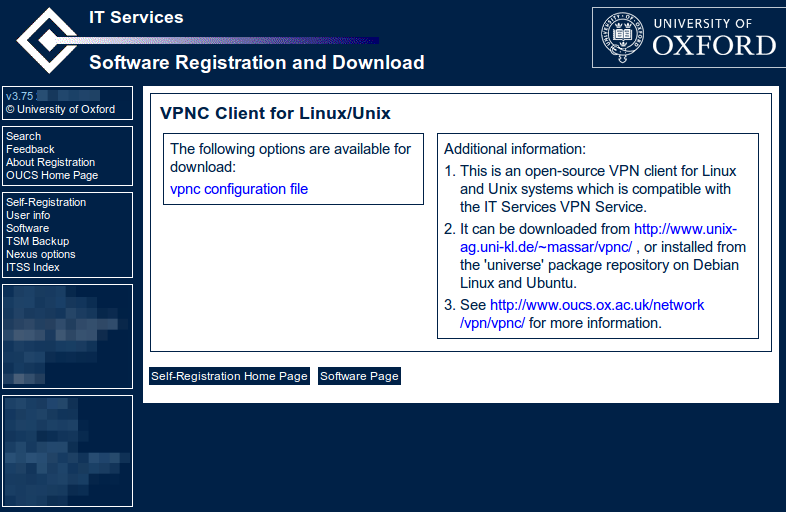
Client the “vpnc configuration file”
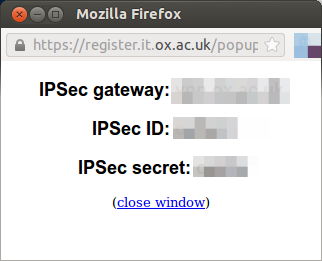
… and up pops this window.
You will need all this information for the following steps.
4 – Configure the VPN Connection Locally
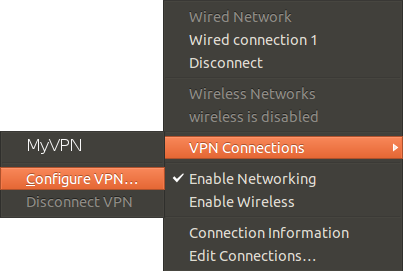
Click on the network icon at the top right of the screen. Select VPN connections -> Configure VPN…
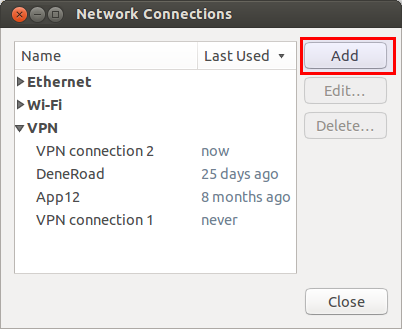
In the Network Connections dialog box – click “Add”
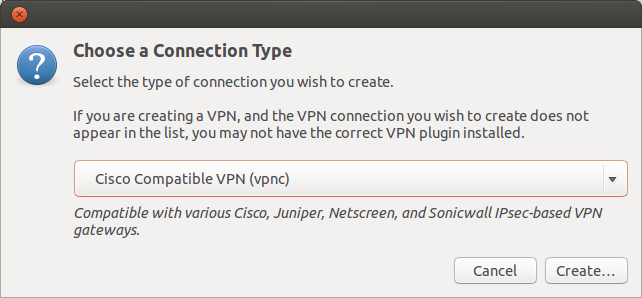
Select “Cisco Compatitble VPN (vpnc)”. It you can’t see this option then you need to go back and install the VPNC client.
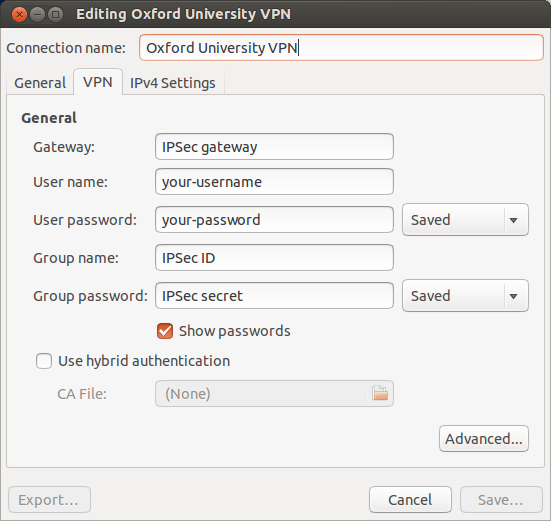
Fill in the fields as show below. You will need your University login and also the setting which we found before.
Then click “Save”. You can connect…
5 – Connect…
Click on the network icon and under “VPN Connections” – select the VPN connection that you have just created. The network icon will pulse and you should see this icon:
Let me know if this works or doesn’t work for you.
Happy VPN’ing.
